
A Checklist for Inspecting Your Rental Property After a Tenant Moves Out — Make Turnovers Faster, Easier, and Stress-Free
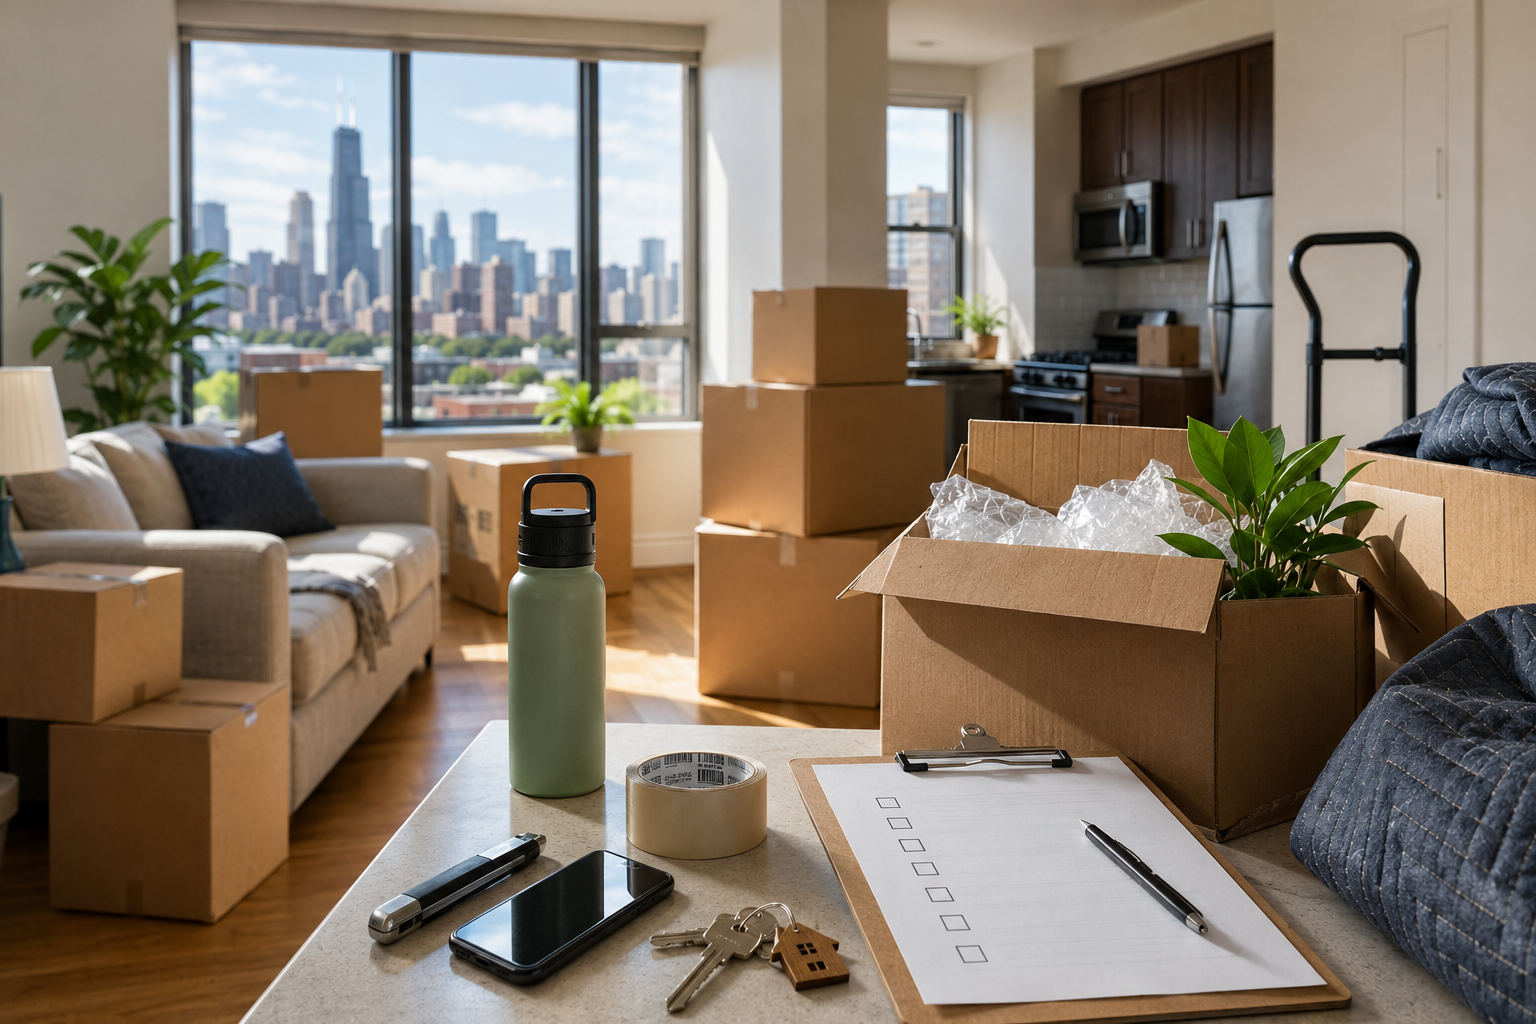
A tenant has just handed over the keys.
You open the door, take a deep breath, and prepare for the moment of truth.
Turnovers can feel overwhelming—but they don’t have to be. A clear, organized move-out inspection checklist not only protects your investment but also helps you get your rental market-ready faster (and with fewer headaches).
Below is an easy-to-follow guide full of practical tips and trusted resources to help you navigate every step of the process.
Why Move-Out Inspections Matter
Move-out inspections help you:
- Document the property's condition
- Avoid security deposit disputes
- Spot maintenance issues early
- Keep your rental in top-tier shape
- Reduce vacancy time
For a deeper look at tenant rights and landlord responsibilities, you can review the HUD guide on wear and tear vs. damage:
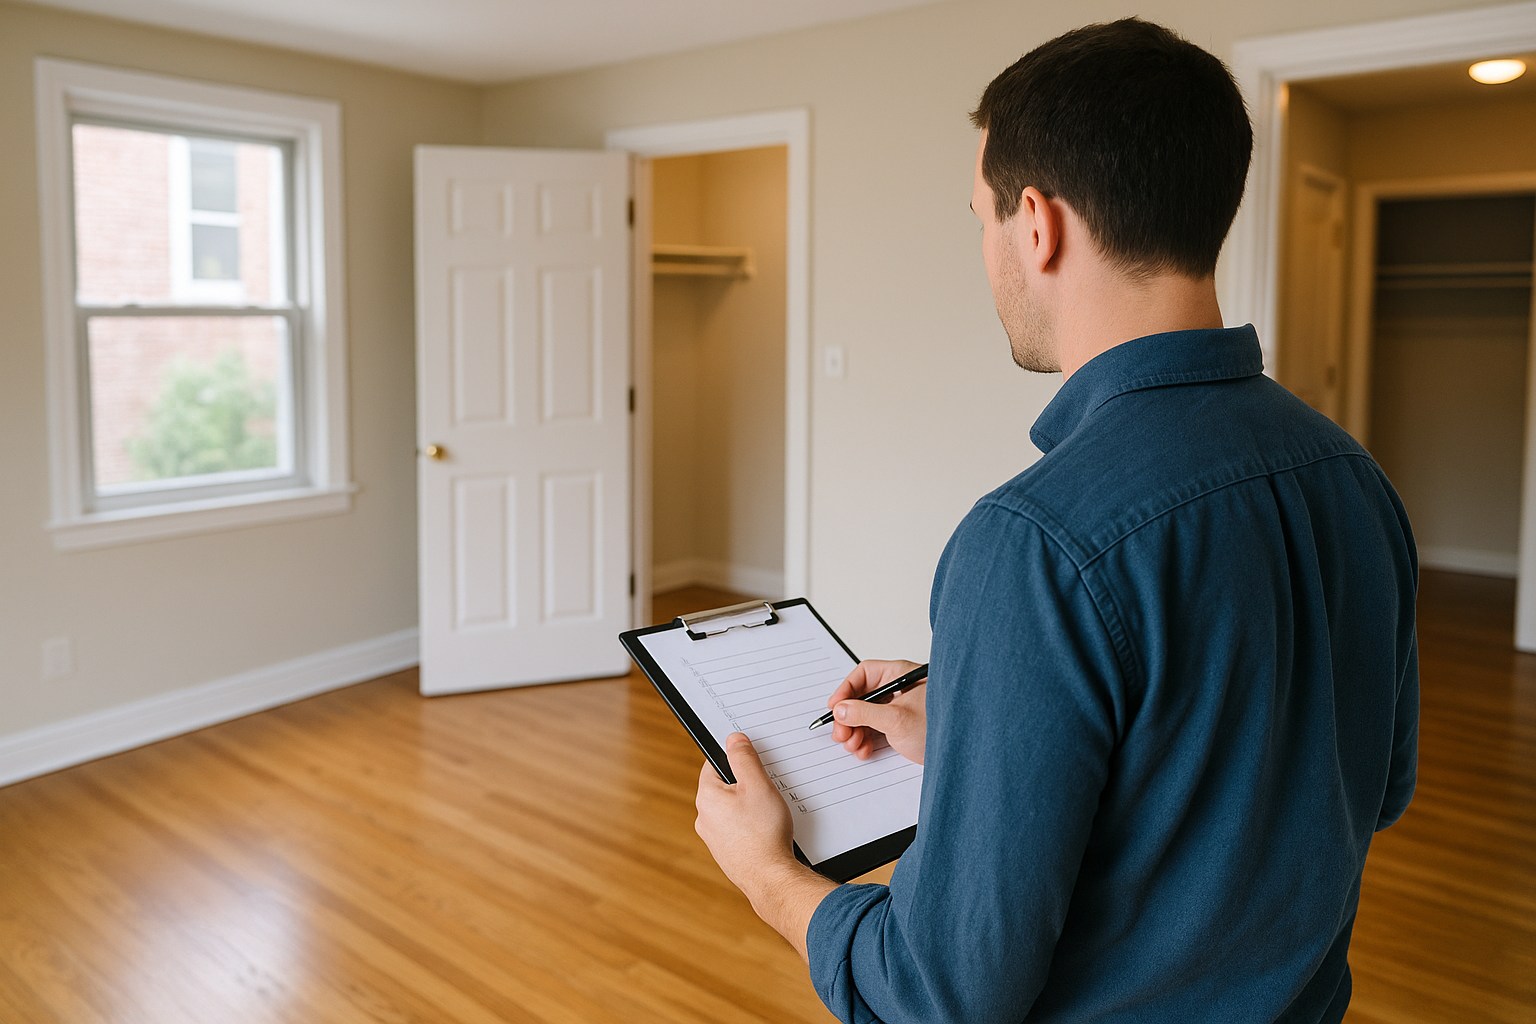
The Ultimate Move-Out Inspection Checklist
1. Document Everything (Your Best Protection)
Before touching anything:
- Take photos and videos
- Use your move-in report for comparison
- Keep digital backups
Learn more about best practices for documenting property conditions here:
2. Inspect Walls & Ceilings
Check for:
- Cracks
- Water stains
- Large holes
- Smoke residue
- Paint damage
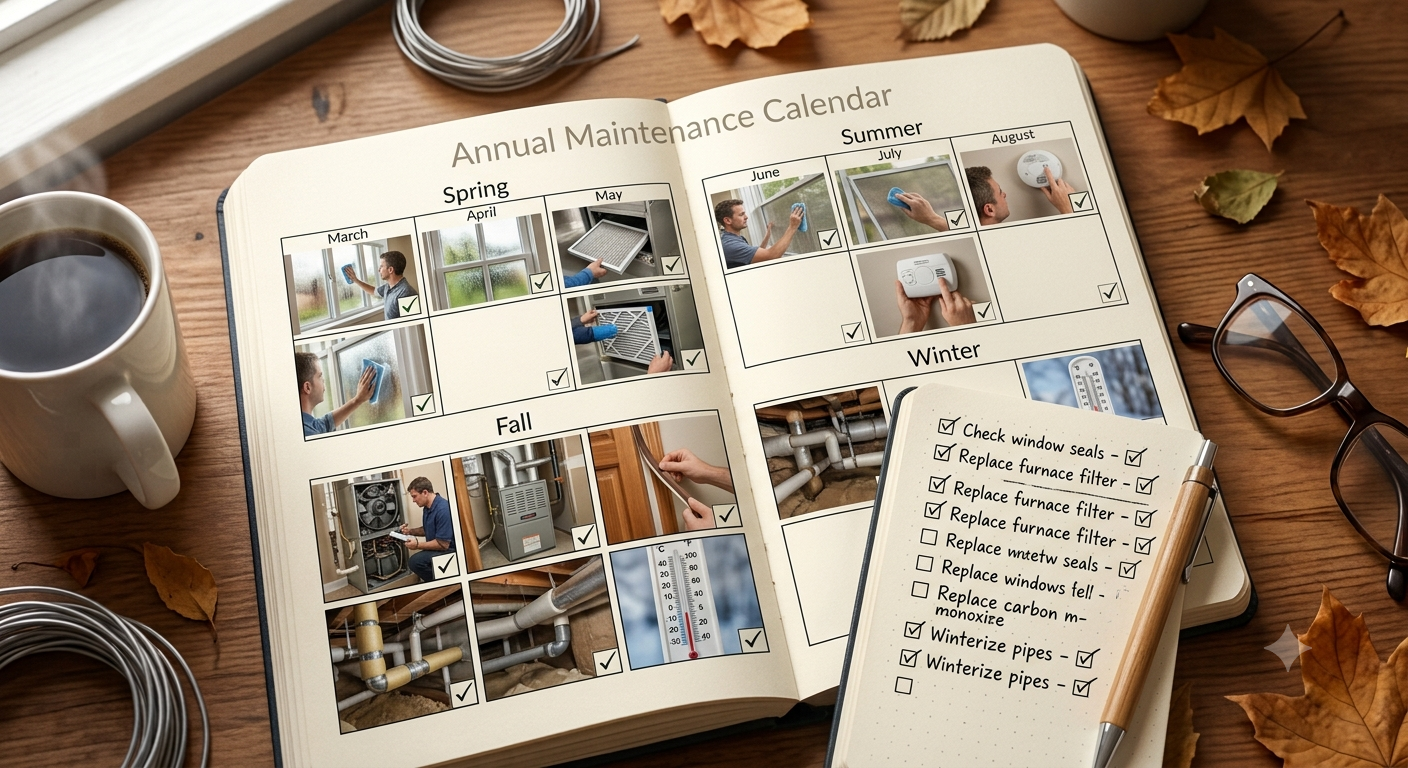
If you're unsure whether a stain might indicate a hidden leak, this home maintenance checklist is helpful:
✔ Bob Vila Home Inspection Tips
3. Evaluate Flooring Condition
Flooring can reveal a lot:
- Carpet: pet stains, burns, odors
- Hardwood: scratches, warping
- Tile: cracks, loose grout
Not sure how long certain materials are expected to last?
4. Test All Appliances Thoroughly
Go appliance by appliance:
- Refrigerator shelves & seals
- Stove burners & oven functions
- Dishwasher drainage
- Microwave smell & functionality
- Washer/dryer noise level
If you suspect a malfunction, Consumer Reports offers guidance on common appliance problems:
✔ Consumer Reports Appliance Tips
5. Plumbing & Bathrooms—Catch Issues Early
Check:
- Leaky faucets
- Running toilets
- Water pressure
- Shower caulking
- Mold or mildew
- Tile damage
For mold identification and prevention tips:
6. Electrical System Safety
Confirm:
- Every outlet works
- Light fixtures turn on
- GFCI outlets reset
- Smoke/CO detectors are functional
You can learn more about electrical safety standards here:
✔ Electrical Safety Foundation International
7. Doors, Windows & Locks
Make sure each one:
- Opens smoothly
- Locks securely
- Has intact screens
- Has proper weather stripping
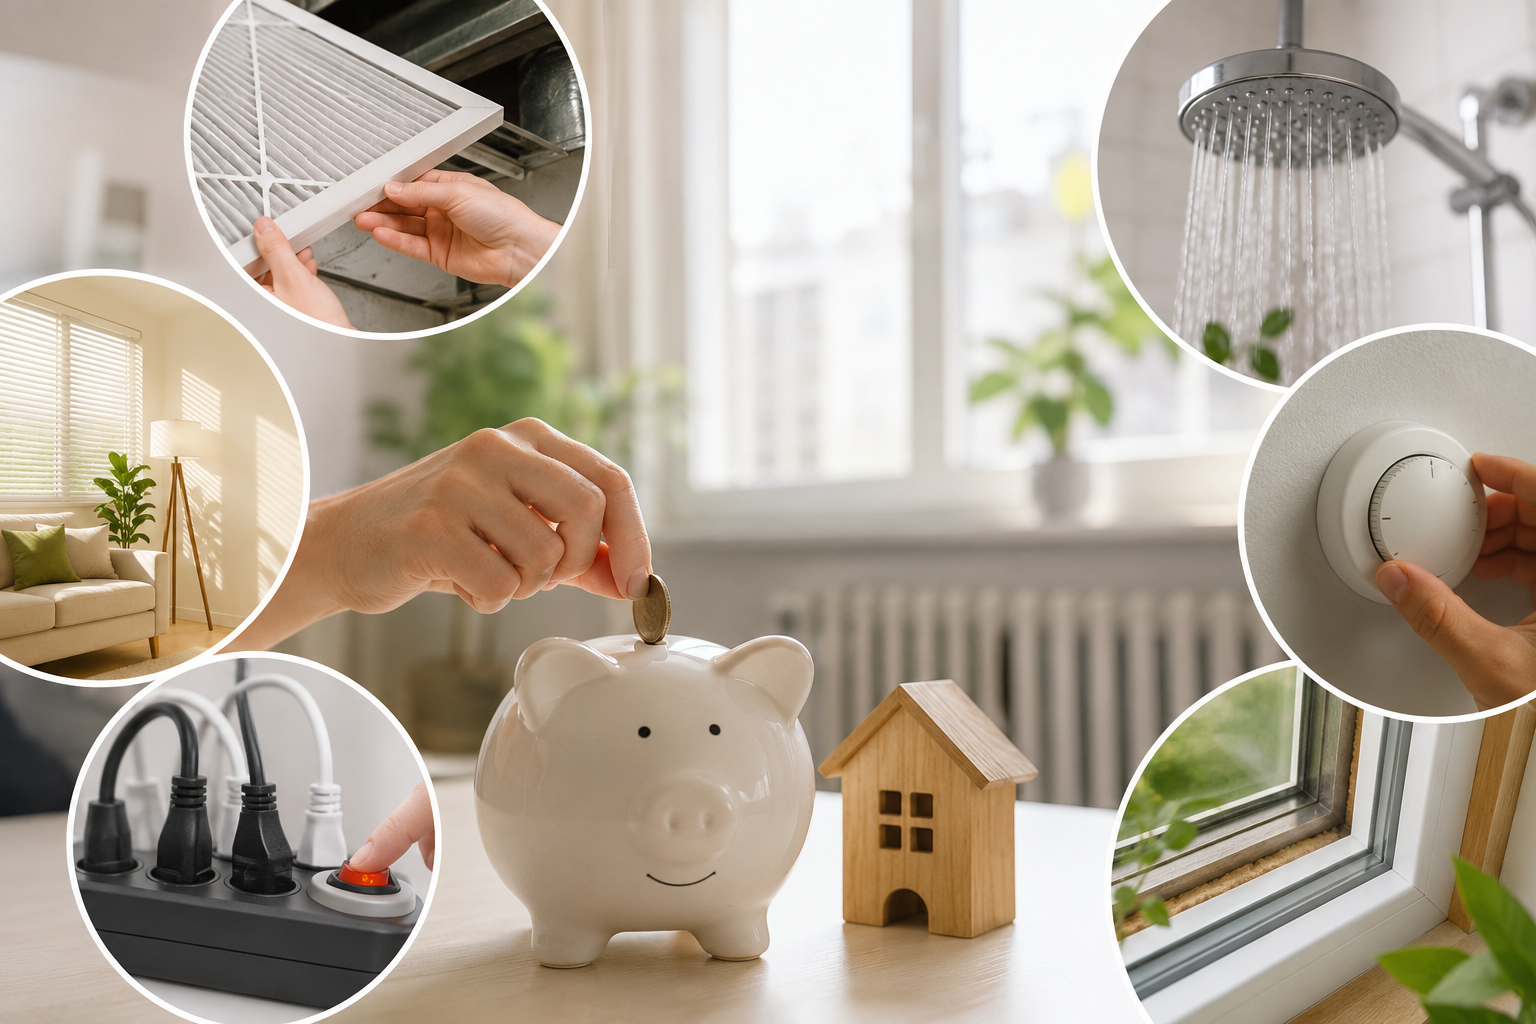
Energy loss through windows can impact heating/cooling costs significantly. For info on energy efficiency:
✔ Energy.gov Home Efficiency Tips
8. Kitchen Condition & Cleanliness
Inspect:
- Cabinets (inside/out)
- Counters
- Sink
- Backsplash
- Range hood filter
Tenants often judge a rental by its kitchen—this is where your cleaning effort really matters.
9. Outdoor or Shared Spaces
Check for:
- Debris or trash
- Landscaping issues
- Patio damage
- Exterior lighting
- Garage condition
These areas influence curb appeal, so don’t overlook them.
10. Final Cleanliness Pass
Before you consider the unit “ready”:
- Wipe down surfaces
- Clean appliances
- Remove trash
- Mop and vacuum
- Sanitize bathrooms
- Clean windows
A professionally cleaned unit attracts better-quality renters, faster.
Ready to List the Property?
A detailed move-out inspection is the key to minimizing vacancy and maximizing your property’s value. When the unit is finally ready, make sure it gets the visibility it deserves.
👉
View Our
Vacancies
👉
Learn About
NXT Realty
👉
Read More Helpful
Property Management Guides
Final Thoughts
With the right checklist and a little systemization, your turnover process becomes smoother, quicker, and more profitable. This move-out inspection guide ensures you stay organized, compliant, and fully prepared for your next tenant.